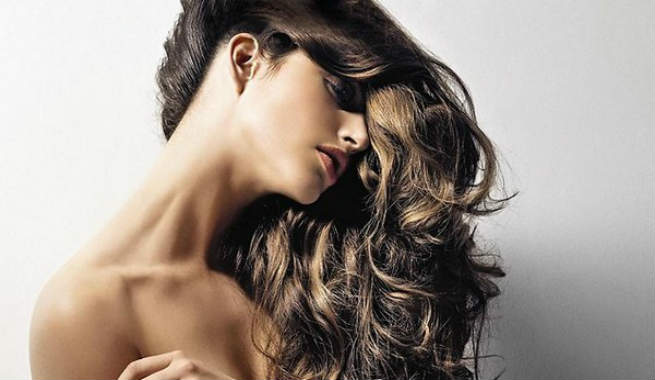
Hair highlights can alter your whole appearance dramatically. They can brighten up your face, create an illusion of having voluminous hair, and make you look youthful. Though seeking the help of a pro is the best way to get your hair highlighted, you can also do it at home by following some tips and tricks. We got the scoop on how to get perfect DIY hair highlights. Here we go: (1)
Find The Right Kit
When getting hair highlights like a pro at home, it is essential to ace your base. Find the best hair color kit, preferably one shade lighter than your hair’s actual or base shade. Always use a drip-free conditioning formula with a plastic cap, an appropriate spatula, and a suitable brush/applicator.
Note: The cap and spatula offered by most of the hair color kits available in the market have been found not to serve the purpose rightly. Using the plastic cap might create a splotchy mess while giving your spaghetti-like highlights. So, you can toss it if you wish. Conversely, replace the skinny spatula with a baby toothbrush / (1/4)” paintbrush to saturate the strands’ whole circumference.
Pick The Perfect Shade
Picking the shade wisely for your highlights can be pretty challenging. The trick is to choose lighter brown shades for very dark (black, dark brown, etc.) hair, dark golden blonde streaks for medium to light brunette hair, and silvery blonde streaks for natural blonde hair.
The ‘Strand Test’ Is A Must
No matter how tedious the ‘strand test’ seems, it is critical for a perfect DIY highlight. It will give you a clear idea of what you will get. Your kit will have all the necessary instructions; you should never skip it. Extend the application time for five more minutes for a lighter shade, but don’t apply the mixture more than twice.
Get Your Locks Prepared
Preparing your hair beforehand will give you minimum trouble during the task. Ensure that your hair is not too clean with lots of frizzes, tangles, and flyaways or too dirty with lots of dust and oils. It is recommended that you wash your locks with a clarifying shampoo and opt for a deep conditioning treatment a day before highlighting so that your scalp becomes free from product buildups and the color glides on smoothly to make your highlights look naturally gorgeous.
Follow The Right Method
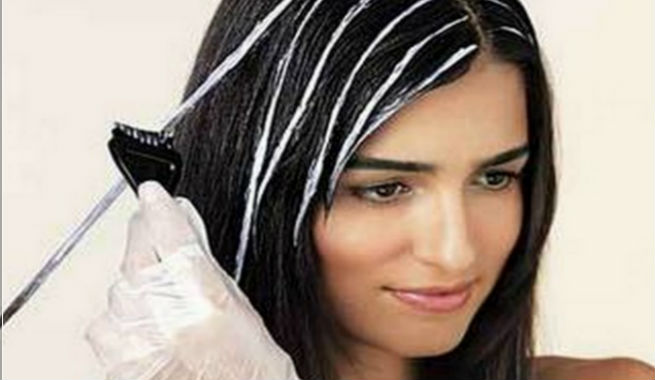
Streaking your hair correctly is essential for making your at-home highlighting effort successful. You can start with sectioning your hair (around 12 sections will be good) to figure out the face-framing strands. Each section should be (1/4)” wide (coarse hair) or even smaller (thin hair). Pin all the sections separately and let them down one after another as you progress. Apply the dye to the dry hair (1″) at the front of the head, maintaining a 1cm gap from the scalp. The streak should be thinner (1/2″) as you go to the middle of the head and become the thinnest (1/4″) once you reach the back and the underlayers.
Cooking Time Is Crucial
Go through the user manual provided with your kit and follow the recommended cooking time strictly. Stopping too soon or too late might kill your attempts completely. Once you stop at the right time, shampoo and rinse each highlighted section well and add back moisture through deep conditioning.
A Few More Words…
While the tips above are vital to remember, here are some more important facts to keep in mind for people who are thinking of getting hair highlights at home:
- Protecting your skin from hair bleach is essential for avoiding damage. Hence, always apply a skin protector to your ears and hairline before starting.
- Start slow, especially if you are new to DIY hair highlighting. Stick to your crown area and the hair framing your face for the first few sessions. Then, experiment with other parts gradually.
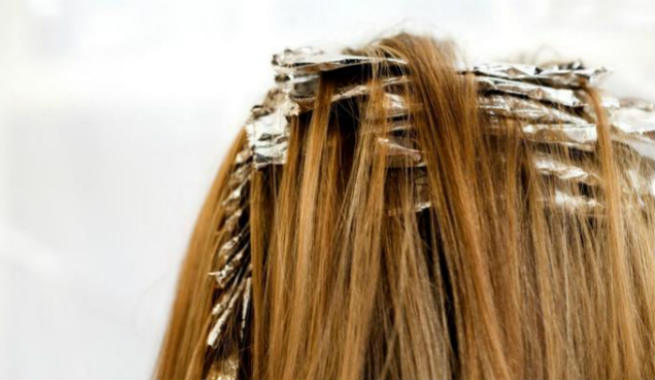
- Color transfer and smudges are widespread in at-home hair highlighting. To avoid all these, you must place paper towels or aluminum foil pieces between the layers during the task.
- Your highlights should not be evenly placed. Asymmetrical streaks always look more relaxed than the strictly placed ones.
- Highlighted hair often looks dull and unhealthy. A clear gloss will restore its shine and vibrancy in minutes and give it a healthy appearance.
- Let your highlights set completely (wait for a couple of days) before you start regularly washing your locks. This will help them last longer than usual.
- Do not attempt DIY hair highlighting if your hair is highly damaged, chemically relaxed, or over-processed.
Check with a professional hair colorist every six months and get the necessary fixes for your highlights to stay natural and gorgeous for a long.
Summary
Achieving salon-quality DIY hair highlights involves selecting the suitable color kit and shade, conducting a strand test, and preparing the hair adequately. Optimal results require careful sectioning, applying the dye with precision, and adhering to recommended processing times. Protecting the skin, starting slow, and using barriers to prevent color transfer is crucial. To maintain vibrant and healthy highlights, apply a clear gloss, allow sufficient setting time, and avoid DIY attempts on highly damaged or chemically treated hair. Regular professional consultations ensure lasting, natural-looking results.


