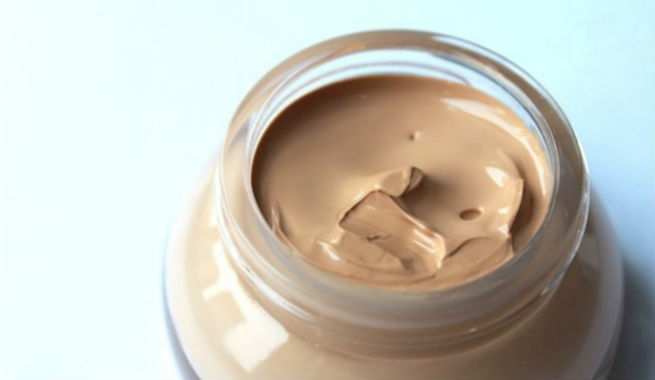
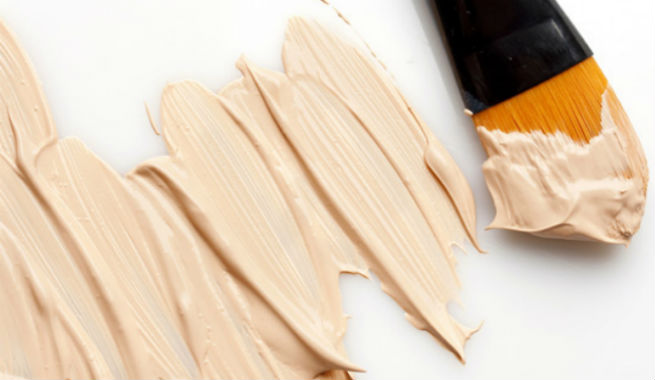
So, what is the difference between a store-bought tinted moisturizer and its natural homemade counterpart? Well, a DIY tinted moisturizer is less harmful to your skin and, of course, less heavy on your wallet. And being an option loaded with natural ingredients, it offers innumerable benefits, too. Let’s explore two fabulous recipes here. (1)
DIY – Homemade Natural Tinted Moisturizer Recipes
Recipe 1:
This is an elementary version of homemade tinted moisturizer. However, you’ll need your favorite foundation to prepare this one. In one of our previous posts, we’ve already shown you how to make a natural powdered foundation. So, try that, and you’ll be ready with the base of your homemade natural tinted moisturizer.
Ingredients:
- Homemade powdered foundation – 2 teaspoons
- Coconut oil – 4 tablespoons
- Vitamin E – 2 capsules
- Lavender essential oil – 20 drops
How-To:
- Pour coconut oil into a medium-sized mixing bowl. If solid, melt it in a double boiler or microwave oven and cool it down before using.
- Add homemade powdered foundation (check out the recipe) to the bowl and mix with a spoon. Adjust the amount of foundation depending on your desired shade. If you want your tinted moisturizer to be lighter, use it in moderation. For a darker shade, increase the amount accordingly.
- Add the content of vitamin E capsules to the bowl and blend well. It can also be replaced with 10 to 20 drops of other nourishing oils like sweet almond, jojoba, etc.
- Pour lavender essential oil into the mixture. This is needed to ensure this moisturizer doesn’t affect the oily acne-prone skin. If you have normal skin, you may skip lavender essential oil.
- Blend all ingredients nicely with the help of a spoon or hand whisk. Keep the bowl aside until the mixture reaches room temperature.
- Once again, whip the mixture well to ensure no lump and a medium and smooth consistency. If you want your tinted moisturizer to be a little thinner, add more drops of nourishing oil.
- Pour the whole mixture into a container, and your homemade tinted moisturizer is ready to use.
Recipe 2:
Want to go a bit more elaborate? Try out this super hydrating natural moisturizer recipe with a beautiful natural tint. It will give you a beautiful glow and a subtly made-up look. However, the best part of this recipe is its ingredients, which contain raw shea butter and extra virgin coconut oil for keeping skin soft and supple, almond oil and vitamin E oil for fighting against the signs of aging, aloe vera gel for repairing damaged cells, Lemon essential oil for detoxifying and tightening skin, bentonite clay for deep cleansing and preparing the base and cocoa powder for a subtle color.
Ingredients:
- Beeswax – 1 teaspoon
- Shea butter – 1 teaspoon
- Almond oil – 4 tablespoons
- Extra virgin coconut oil – 2 teaspoons
- Pure honey – 2 teaspoons
- Vitamin E oil – 2 teaspoons
- Aloe vera gel – 6 tablespoons
- Bentonite clay – 1 teaspoon
- Cocoa powder – 1 teaspoon
- Lemon essential oil – 20 drops
How-To:
- Pour beeswax, shea butter, coconut, and almond oil into a double boiler. Heat it slowly until all the ingredients form a melted mixture together. Allow it to cool down and transfer to a blender.
- Take a small mixing bowl and put aloe vera gel into it. Also, pour pure honey, vitamin E, and lemon essential oil into the bowl. Whisk well to prepare a smooth mixture.
- Pour this aloe vera-honey mixture into the beeswax-shea butter mixture inside the blender. Blend well so that a mixture of medium consistency is prepared. If you find that the beeswax-oil mix has turned into a lip balm-like substance, break it up gently with a spoon and then proceed with the blending.
- Once everything is well combined, shift the mixture into a glass or high-grade plastic bowl. As you will use bentonite clay at this stage, using a metallic bowl will not be safe enough. So, put the clay in the bowl you’ve taken and add cocoa powder. You may increase or decrease the quantity of cocoa powder to control the shade of your homemade moisturizer. For a darker tint, increase the amount and vice versa.
- Finally, store your freshly made tinted moisturizer in a plastic container and place it in a cool, dry area.
Also Read – DIY: Homemade concealer to match your skin.
While making tinted moisturizer at home, be sure about the shade that suits your skin. If you have a fair complexion, go for lighter shades, while a darker complexion needs comparatively darker shades of moisturizer. Also, you may want a more accessible option by blending your bronzer with your favorite moisturizer. However, this will not come with the added benefits of natural ingredients.
Summary
DIY tinted moisturizers offer skin-friendly and budget-friendly alternatives to store-bought options. These natural recipes bring numerous benefits, such as being lighter on the skin and incorporating nourishing ingredients. Recipe 1 involves mixing homemade powdered foundation with coconut oil, vitamin E, and lavender essential oil. Recipe 2, a more elaborate version, includes beeswax, shea butter, almond oil, coconut oil, honey, vitamin E, aloe vera gel, bentonite clay, cocoa powder, and lemon essential oil for a hydrating and subtly colored moisturizer. Adjusting shades ensures a perfect match for your skin.


